- Document History
- Subscribe to RSS Feed
- Mark as New
- Mark as Read
- Bookmark
- Subscribe
- Printer Friendly Page
- Report to a Moderator
- Subscribe to RSS Feed
- Mark as New
- Mark as Read
- Bookmark
- Subscribe
- Printer Friendly Page
- Report to a Moderator
myLightGrid: Visualisation using Illumination
myLightGrid: Visualisation using Illumination
NOW with 5 exciting modes of operation…
Music Equaliser // 2-Player Pong // Animator // Spirit-Level // Voltage Display
Embedded systems often lack traditional user interfaces, making it difficult to relay information back to a user. I wanted to investigate the use of a low-cost ($5) 32 LED array, as a simple way of visualising, well, just about anything!
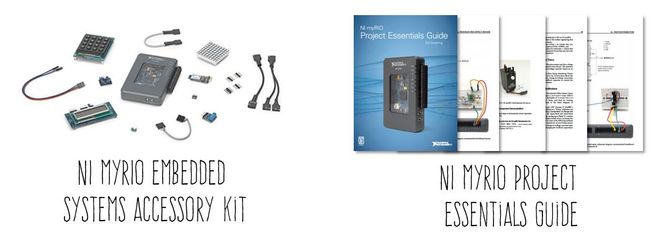
The inspiration for this project… my light bulb moment (#DadJoke)… came from two super-useful resources:
- Embedded Systems Accessory Kit (Common sensors, devices, and display for embedded projects)
- Project Essentials Guide (Multimedia learning resource for completing myRIO projects at all levels)
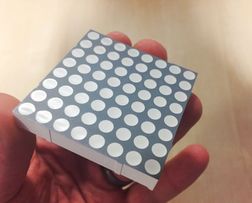
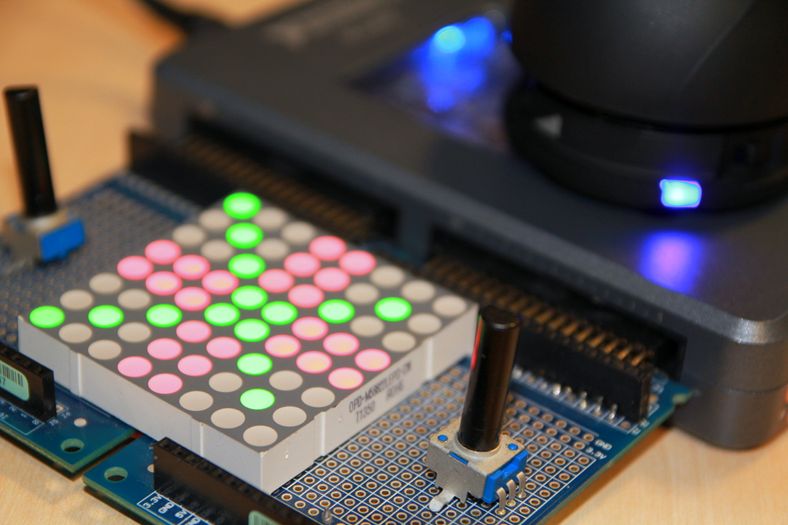
The component that specifically caught my eye, was this neat, little, 2-color 8x8 Matrix LED Display.
The project essentials guide (Chapter 29) provides component theory for the LED matrix, wiring diagrams, and a simple vi that allowed me to manually set the colour (Red or Green) of the individual LEDs.
This ready-made interface to the LED matrix, allowed me to concentrate on coding some interesting, dynamic ways of producing patterns… myLightGrid was born.
Aside from wiring the LED Matrix to the myRIO’s DIO lines (as per the Project Essentials Gudie), I also connected two rotary potentiometers to analogue inputs A/A1 and B/A1 of the myRIO (and to the myRIOs gnd and 5V lines) – this would enable some additional user interactions with the system.
Mode #1: Animator
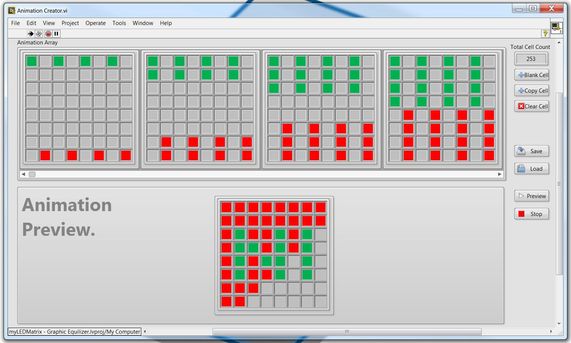
Load a custom binary animation file, and step through the frames (each frame, is effectively an array of integer values where 0=OFF, 1=RED and 2=GREEN).
To simplify the development of new animations, I also made Animation Creator.vi, which you can run on the host machine. This tool allows you to create load, save, edit and preview your own animations. (Note: This is simple stuff – please don’t expect to animate the next Pixar movie using this tool!)
Mode #2: Music Equaliser
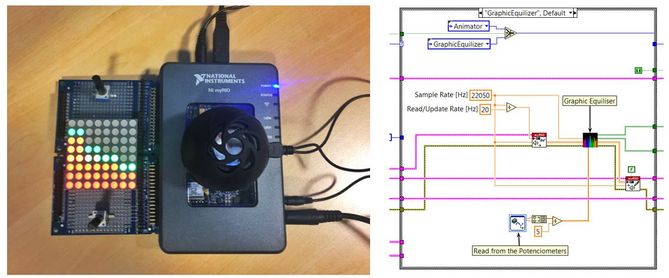
The LED Matrix visualises the balance between frequency components in live music signals (via the myRIO’s 3.5mm Audio In port). I divided the audio frequencies into 4 bands. In this mode, you also have the ability to adjust the bass and treble frequencies using the potentiometers (and play the processed music via the myRIO’s 3.5mm Audio Out port).
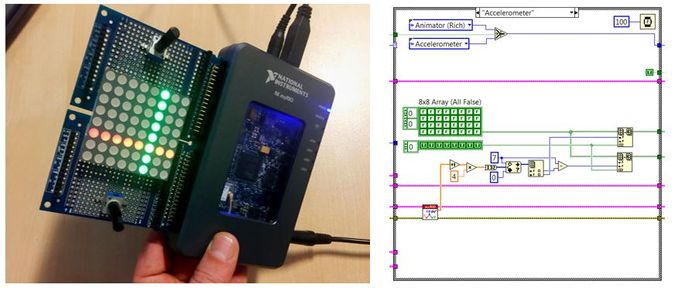
Mode #3: Spirit-Level
Illuminated cross-hairs that move according to the data received from myRIO’s built-in accelerometer. Disclaimer: My implementation is not hugely accurate, and (like all accelerometers) it is prone to drift - I would not advise using it put up new shelves at home (unless wonky furniture is a look that you are going for).
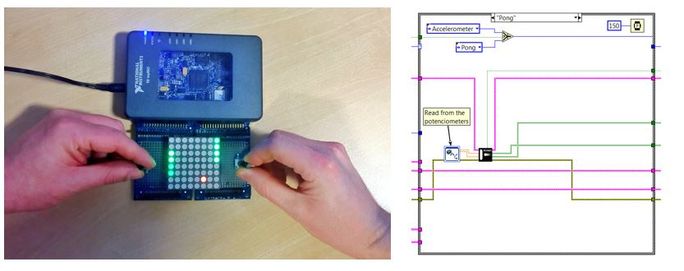
Mode #4: 2-Player Pong
A mini-replication of one of the earliest video games – a 2D sports game that (kinda) simulates table tennis. Each player controls their paddle using the potentiometer. I intended to embed a score keeper… but never quite got around to it 😞
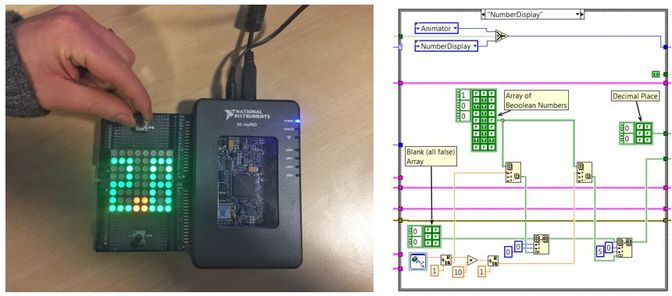
Mode #5: Voltage Display
Finally! A mode that could actually be useful to a real-world embedded system! This mode acquires the voltage dropped across one of the potentiometers (0-5V) and displays it to one decimal place.
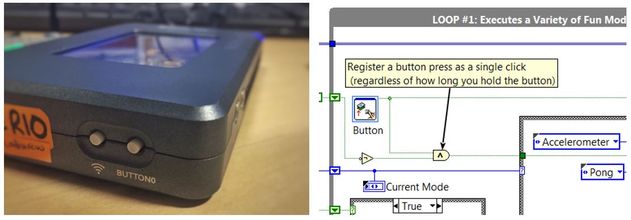
The user can switch between these 5 operating modes, by simply clicking the user definable Button0 on the side of the myRIO.
Also note that the front panel of the main myLightGrid vi includes 3 indicators, which display…
- Virtual representation of the actual LED Matrix
- Current Operating Mode
- Errors and Warning
However, other than a stop button… there are no inputs/controls! This was a purposeful choice, as it allows myLightGrid to run heedlessly… completely disconnected from a PC.
Requirements
- SW: LabVIEW 2015 (or higher), LabVIEW Real Time, LabVIEW FPGA
- HW: NI myRIO, x2 Potenciometers, 8x8 Dot Matrix LED Display, 3.5mm Audio cable, Some Music, Speaker
Steps to Execute
- Wiring the LED Matrix to the myRIO’s DIO lines (as per the Project Essentials Guide)
- Connected two rotary potentiometers to analogue inputs A/A1 and B/A1 of the myRIO (and to the myRIOs gnd and 5V lines)
- Place the example animation files (or indeed your own custom animations using the supplied Animation Creator.vi) into the following locations on the myRIO's integrated HDD.
- Open myLightGrid.lvproj
- Open and run the myLightGrid RT Main.vi
- Enjoy!
- Look through the block diagram (it is a bit big, ugly, and unwieldy, but it is well documented)
- Think about what functionality you would like to add to myLightGrid!
Senior Marketing Engineer, National Instruments
Connect on LinkedIn: https://www.linkedin.com/in/richard-roberts-4176a27b/
