- Document History
- Subscribe to RSS Feed
- Mark as New
- Mark as Read
- Bookmark
- Subscribe
- Printer Friendly Page
- Report to a Moderator
- Subscribe to RSS Feed
- Mark as New
- Mark as Read
- Bookmark
- Subscribe
- Printer Friendly Page
- Report to a Moderator
Contact Information.
Nota: El texto en negro esta escrito en español y el texto en verde en inglés.
Note: The text in black is written in Spanish and the text in green is in English.
Competition Year: 2016.
University:
Universidad Tecnológica de Chihuahua./Technological University of Chihuahua.
Miembros del Equipo / Team Members:
Juan Josue Terrazas Chavira (2017)
Mariela Lizeth Morales Granillo (2017)
Luis Raúl Barrón Gutierrez (2017)
Profesores Asesores / Faculty Advisors:
M.C. Jorge Cardona Soto
Dirección de Correo Electrónico / Email Address:
luisraulbarrongutierrez@hotmail.com
Idioma de Entrega / Submission Language:
Inglés y Español / Spanish and English
Información del Proyecto / Project Information.
Titulo / Title:
Maquina de leche quemada automatizada / Automated machine burnt milk:
Descripción / Description:
La maquina de leche quemada tiene la capacidad de realizar el proceso de vaciar leche, azucar y bicarbonato a una olla revolvedora donde es calentada, mediante un programa donde se puede iniciar el proceso desde nuestro panel frontal del VI como en la maquina fisicamente, además de un paro de emergencia.
The machine burnt milk has the ability to perform the process of emptying milk, sugar and bicarbonate at a revolvedora pot where it is heated through a program where you can start the process from our front panel of the VI and on the machine physically, plus an emergency stop.
Productos / Products:
LabVIEW 2014, NI myDAQ
Problemática / problematic:
El proceso de leche quemada es desgastante para el productor, debido a que es un proceso cansado por la necesidad de estar mezclando los productos de manera manual, lo que ocasiona perdida de energía y accidentes por quemaduras debido a que la mezcla se expone a altas temperaturas.
The process of burnt milk is exhausting for the producer, because it is a process tired by the need to be mixing the product manually, which causes loss of energy and burn accidents because the mixture is exposed to high temperatures .
Solución / The Solution:
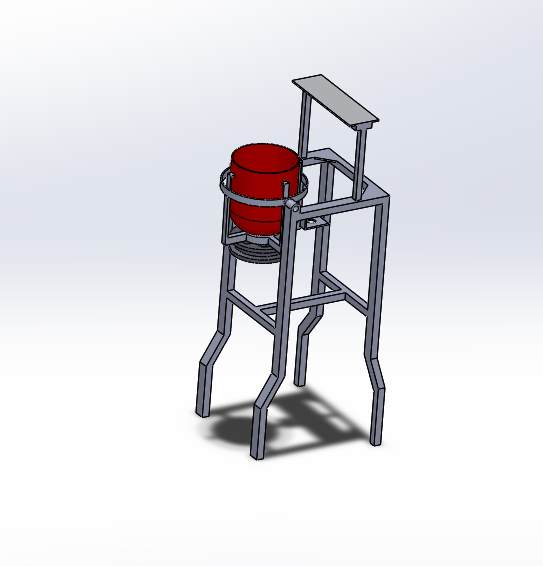
Una maquina de leche quemada automatizada que realiza el proceso de producción para la elaboración de leche quemada. La programación del proyecto se realiza en el software LabVIEW, mediante el cual se llevan a cabo las instrucciones de los pasos de ejecución que se le ordenan al programa, el cual los realiza y de esta manera se lleva a cabo el proceso de la leche quemada, la cual tiene como ingredientes leche, azúcar y bicarbonato a las cuales se le agrego una válvula para que pudieran realizar el funcionamiento, para llevar a cabo el programa se utilizó máquina de estados mediante la cual se agregan todos los casos necesarios llevar a cabo el proceso, cómo se puede apreciar en la imagen siguiente tenemos lo que es nuestro panel frontal.
A machine that performs automated burnt milk production process for the production of burnt milk. The project schedule is performed in the LabVIEW software, through which carried out the instructions of the execution steps that will instruct the program, which performs and thus carried out the process of burnt milk , which has as milk ingredients, sugar and bicarbonate to which was added a valve that could perform the operation, to carry out the program state machine was used whereby all necessary cases are added to carry out the process, as can be seen in the following image we have what is our front panel
Panel Frontal / front panel:
Como podemos ver en nuestro panel frontal primeramente tenemos dos botones, al correr nuestro programa se habilitan estos dos botones principales los cuales son inicio y stop, el primer botón tiene como función inicializar el programa, el botón de stop tiene como finalidad abortar el programa en cualquier instante que nosotros queramos, al presionar el botón de inicio se habilitara el primer clúster el cual contiene dos botones los cuales se habilitaran, aquí nosotros podemos seleccionar el tipo de ejecución del programa, si presionamos el modo manual tendremos que presionar manualmente por medio de un click en cada proceso del programa, es decir agregar paso a paso los ingredientes que conforman la receta para poder llevar a cabo el proceso de la leche quemada una vez seleccionado este modo se habilitara otro botón denominado “OK”, el cual se presiona una vez que la revolvedora está vacía y está lista para agregar los ingredientes, al presionar este botón se activara la primera electroválvula por medio del primer relevador que se conectó a la tablilla electrónica , seguidamente en el panel frontal podemos ver que se enciende un indicador el cual simula que la electroválvula esta activada, esta electroválvula contiene lo que es la leche, de esta manera saldrá el líquido y se empezara a vaciar en el contendor de la estructura, con un múltiplo de tiempo se de 60 seg, una vez pasado este tiempo el relevador que activa a esta electroválvula se desactivara y el líquido ya no se vaciara en el recipiente, ahora se habilitara el botón de agregar azúcar el cual al presionarlo activara a un segundo relevador el cual activara a una segunda electroválvula la cual contiene lo que es la azúcar, se prendera un segundo indicador el cual simulara que la segunda electroválvula esta activada, se empezara a vaciar en el recipiente y después de que pase un múltiple de tiempo, se desactivara el relevador y esta electroválvula ya no vaciara la azúcar en el recipiente, seguidamente se deshabilitara el botón de “AGREGAR AZUCAR” y se activara el siguiente botón el cual es el de “AGREGAR BICARBONATO” una vez presionado este botón se activara un tercer relevador el cual activara a una tercer electroválvula la cual contiene el bicarbonato, se agregó un múltiplo de tiempo para que la válvula introdujera el bicarbonato en el recipiente, una vez pasado este múltiplo de tiempo el relevador se desactivara y la electroválvula ya no introducirá más bicarbonato en el recipiente, se deshabilitara el botón de “AGREGAR BICARBONATO” y se activara el botón de iniciar revolvedora, calentar mezcla y reiniciar proceso, al presionar el botón de iniciar revolvedora se empezara a cargar la progress bar indicando el porcentaje de proceso que se está realizando, seguidamente se activara el relevador que se utilizó para activar el motor que se colocó para hacer girar al contenedor, de esta manera el contenedor girara y empezara a batir los tres ingredientes que se colocaron en él, seguidamente se encenderá un indicador en el panel frontal indicando que el relevador del motor esta encendido, dentro del contenedor se soldaron unas tiras de alambrón las cuales se colocaron con la finalidad de que cuando el contenedor estuviera girando la mezcla quedara mejor batida, al presionar el botón de calentar mezcla se activara un quinto relevador el cual activara a la resistencia eléctrica la cual se colocó en un soporte de metal, se encenderá en el panel frontal otro indicador el cual mostrara cuando el relevador de la resistencia está activado, se agregó el sensor Lm35 el cual se utilizó para poder medir la temperatura de la mezcla, conforme la resistencia eléctrica calienta la mezcla dentro del contenedor, en el panel frontal se puede observar el valor en grados, si sobrepasa de los 100°C la resistencia eléctrica se apagara, al igual que también el motor, de esta manera se obtiene lista la mezcla del proceso de leche quemada. Si queremos reiniciar el proceso presionamos el botón “Reiniciar proceso” y de esta manera el programa vuelve a su inicio habilitando los dos primeros botones los cuales son “Inicio” y “Stop”. Ahora si seleccionamos el modo automático el programa realizara el proceso de manera continua, de esta manera no tendremos que estar presionando cada botón del proceso como vaciar la leche, azúcar y bicarbonato todo se realizara de manera automática, al igual que en el modo manual, aquí también se encenderán los indicadores los cuales indicaran cuando cada relevador se encuentre activado.
Para llevar a cabo la comunicación y el control del proceso se utilizó la tarjeta MyDaq la cual se configuro con las distintas salidas digitales y analógicas para llevar de manera efectiva el control del proceso, seguidamente cabe señalar que se agregaron en la estructura física realizada tres botones físicos los cuales eran “Inicio”, “Enter” y “Paro” , el botón de inicio funciona de la misma manera que el botón de inicio virtual del panel frontal del programa, esto quiere decir que se podía presionar tanto el botón de inicio físico o virtual y se obtiene el mismo resultado, el cual habilitara los botones de selección de proceso, tanto manual como automático, si se presiona el botón de enter el cual sirve para aceptar, es decir si se tenía en modo manual al presionar el botón de enter se activaría el proceso en el que se estuviera, el botón de paro físico es idéntico que el botón de paro virtual al presionarlo me abortara el programa, este botón se colocó con la finalidad de que si ocurría un percance en el funcionamiento del proceso , lo podríamos detener en el instante.
after pressing the button a third relay which will activate a third solenoid which contains bicarbonate is activated, a multiple time was added to the valve introduced baking in the container, once passed this multiple time the relay disabled and no solenoid introduce more bicarbonate in the container, the button "ADD BAKING" was disabled and revolvedora start button, and restart process heat mixture, pressing the start button will begin charging revolvedora the progress will be activated bar indicating the percentage of processing being done, then the relay that was used to activate the motor that was placed for rotating the container, so the container to turn and began to beat the three ingredients that were placed on him will be activated , then an indicator will light on the front panel indicating that the motor relay is on, inside the container wire strips which were placed in order that when the container was spinning the mixture is whipped welded look betterpressing the button a warm mixture fifth relay which will activate the electrical resistance which was placed on a metal stand, will light on the front panel will activate another indicator which will show when the resistance relay is activated, added LM35 sensor which was used to measure the temperature of the mixture, as the electrical resistance heats the mixture within the container, the front panel can be seen the degree value, if it exceeds 100 ° C electrical resistance It will turn off, as also the engine, so the process mixture is burnt milk obtained list. If we start the process press the button "Restart process" and thus the program returns to the start enabling the top two buttons which are "Home" and "Stop". Now if you select the automatic mode the program perform the process continuously, so you will not have to be pressing each button on the process and emptying the milk, sugar and baking everything will be done automatically, as in manual mode, Here indicators which indicate when each relay is activated also illuminate.
Card myDAQ which was set up with various digital and analog outputs to lead effectively control the process used to conduct communication and process control, then it should be noted that were added in the physical structure made three buttons which were physical "Home", "Enter" and "Stop", the start button works the same way as the virtual home button on the front panel of the program, meaning that you could push as the physical home button or virtual, and the same result, which will enable the selection buttons process, both manual and automatic, if the enter button which serves to accept, that is if it was in manual mode by pressing the button is pressed enter the process in which it was be activated, the button physical strike is identical to the button virtual standstill when pressed abort me the program, this button is placed in order that if there was a mishap in the operation of the process, We could stop at the moment.
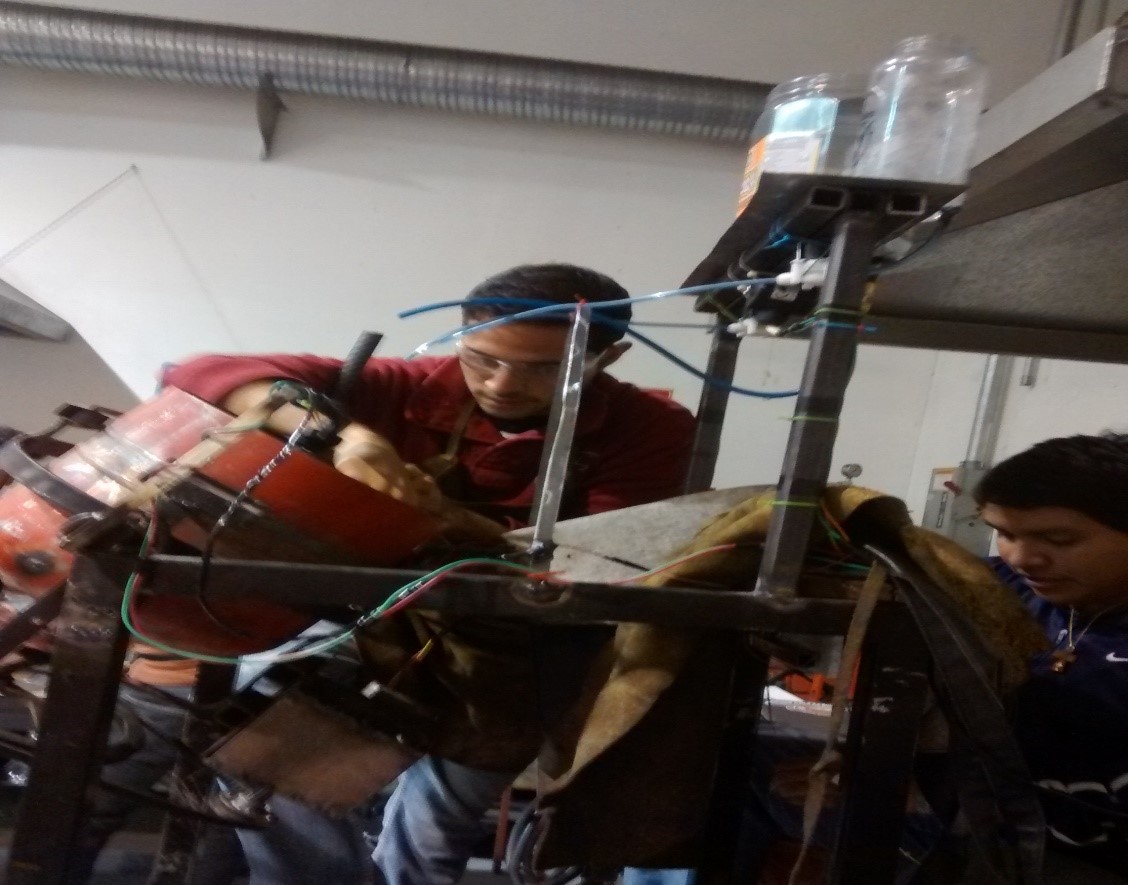
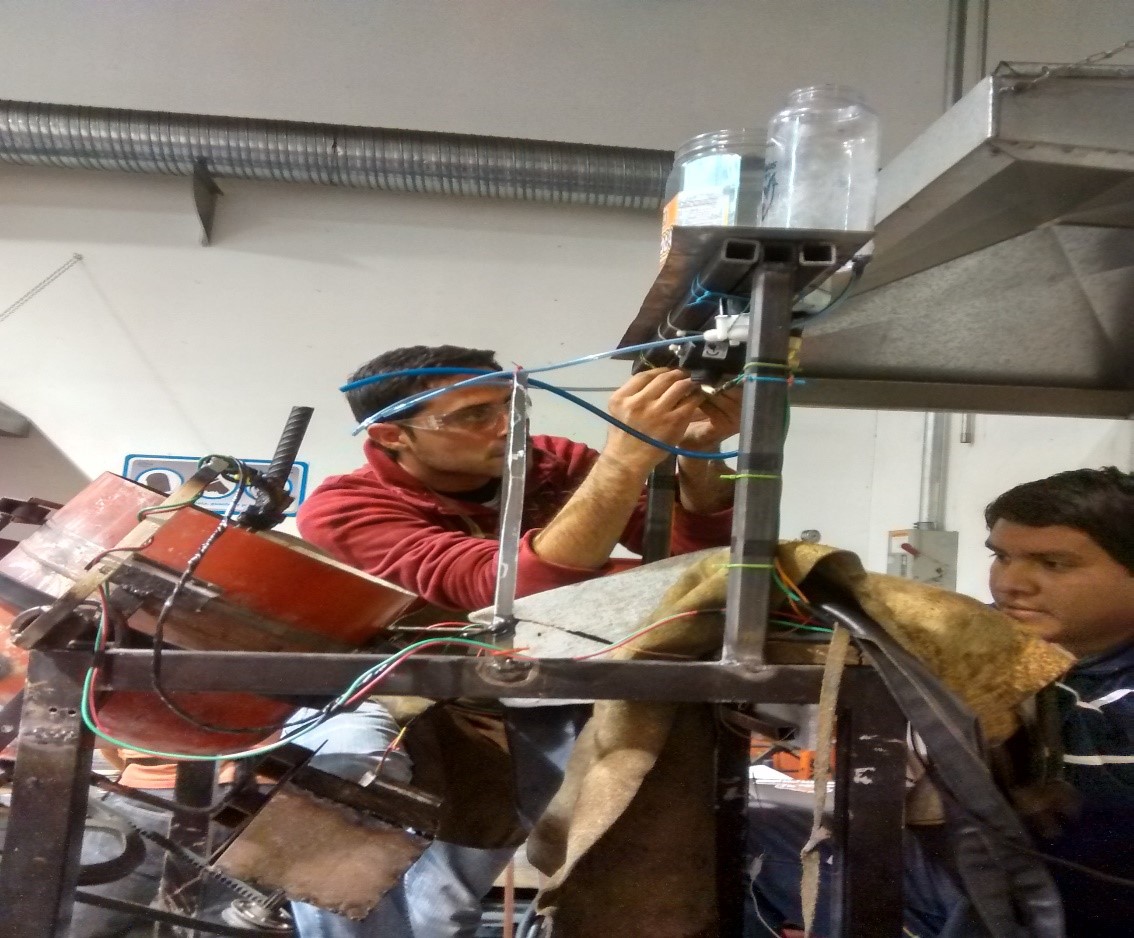
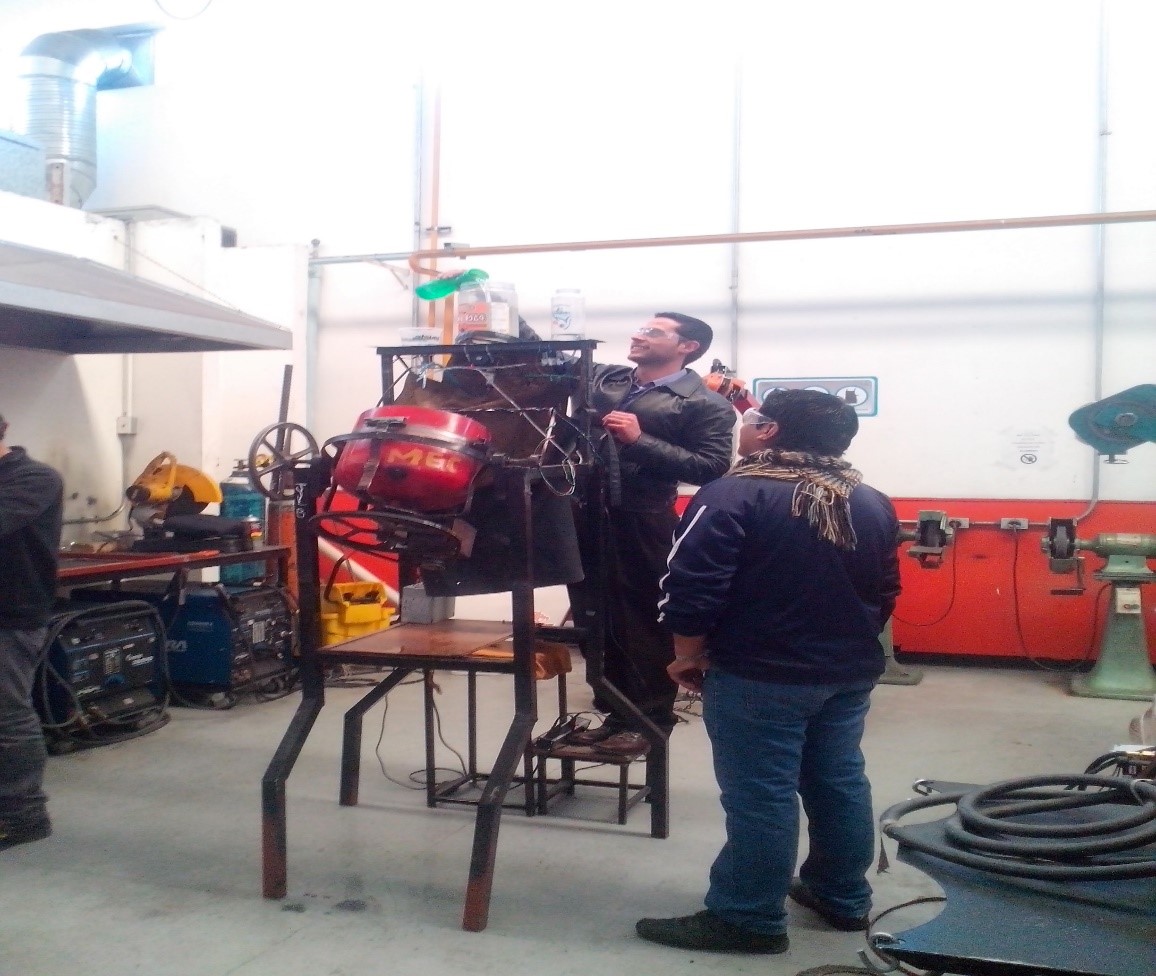
Imágenes del Proceso / process images: