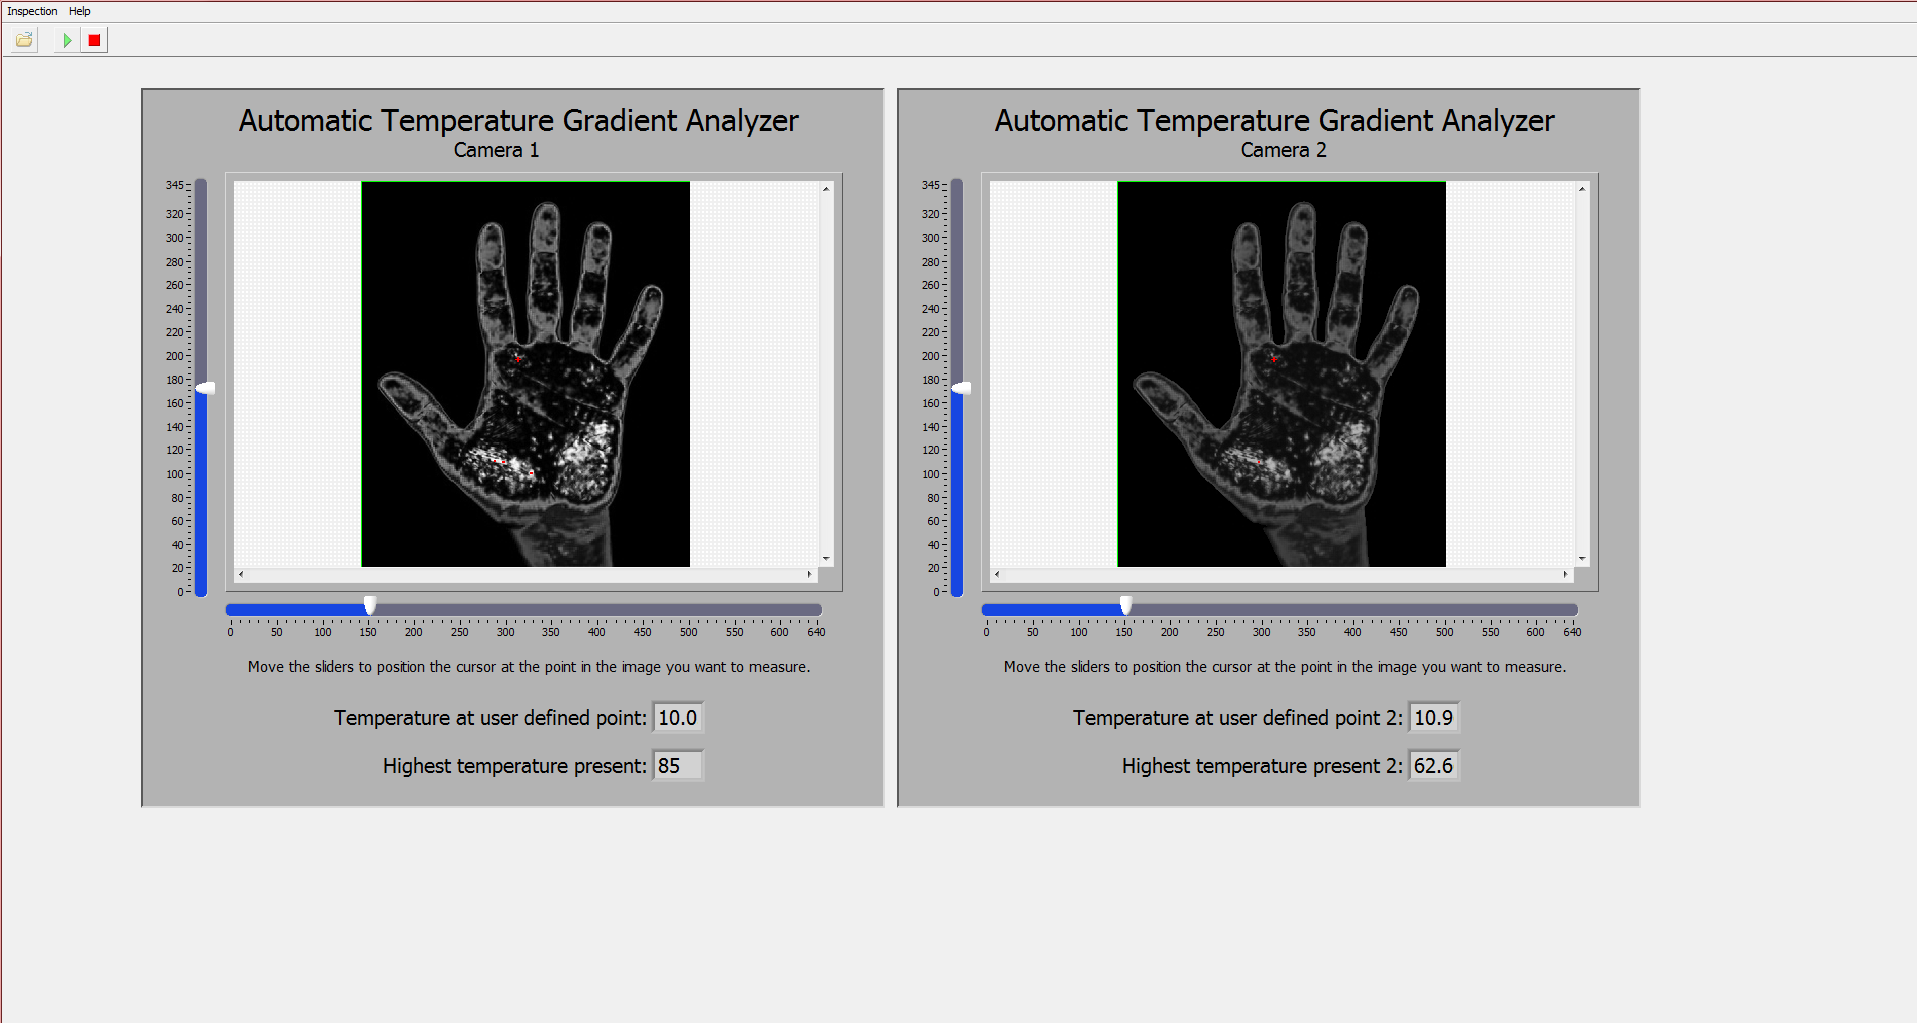
Custom UI for VBAI 2011 Inspection
- Subscribe to RSS Feed
- Mark as New
- Mark as Read
- Bookmark
- Subscribe
- Printer Friendly Page
- Report to a Moderator
Code and Documents
Attachment
This example shows how to create a custom user interface in Vision Builder for Automated Inspection. It also shows how to acquire from multiple sources and run processing on multiple images and display the results simultaneously.
Note: This example is for VBAI 2011.
Instructions
1. Open the inspection in VBAI in the Configuration Interface.
2. In the Simulate Acquisition steps under the Acquire State, enter the correct file path for the attached image files. Choose one file per step and DO NOT select Cycle Through Folder Images.
3. Switch to the Inspection Interface by selecting File»Switch to Inspection Interface, or by pressing Ctrl+I. Click Ok when prompted to save the inspection.
4. Run the inspection by clicking the green play arrow at the top of the window or by pressing Ctrl+R.
5. You can control the cursor on the screen by moving the sliders next to each image window.
6. To stop the inspection, click the red stop button at the top of the window or press Ctrl+..

Chris L
Applications Engineer
National Instruments
Certified LabVIEW Associate Developer
Example code from the Example Code Exchange in the NI Community is licensed with the MIT license.
