Set Mouse Cursor to Busy (hourglass) or Custom Cursor
- Subscribe to RSS Feed
- Mark as New
- Mark as Read
- Bookmark
- Subscribe
- Printer Friendly Page
- Report to a Moderator
Products and Environment
This section reflects the products and operating system used to create the example.To download NI software, including the products shown below, visit ni.com/downloads.
- LabVIEW
Software
Code and Documents
Attachment
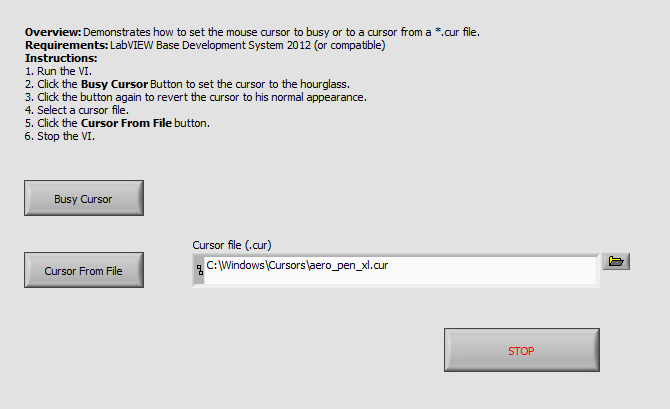
This VI shows how you can set the cursor to busy, so it appears as an hour glass. This example also shows how to set the cursor to a custom cursor file.
Description
It is possible to change the appearance of the mouse cursor with built in LabVIEW functions.
This functions can be handy if you want to give the user of your program feedback about the state of the application (busy) or point the user to special functions.
This VI demonstrates the ability to set the cursor to an hour glass or to a custom cursor.
Requirements
Software
- LabVIEW Base Development System 2012 (or compatible)
Hardware
- No hardware is necessary to use this example VI
Steps to Implement or Execute Code
- Download and open the attached VI
- Run the program
Additional Information or References
Note: You cannot use this example on RT targets (all cursor VIs are unsupported in LabVIEW 2016 Real-Time):
Real-Time Module on NI Linux Real-Time Targets - LabVIEW 2016 Real-Time Module Help - National Instruments
https://zone.ni.com/reference/en-XX/help/370622P-01/lvrtconcepts/rt_rtlinux/
**The code for this example has been edited to meet the new Community Example Style Guidelines. The edited copy is marked with the text ‘NIVerified’. Read here for more information about the new Example Guidelines and Community Platform.**
Example code from the Example Code Exchange in the NI Community is licensed with the MIT license.


