Save Front Panel As Screenshot On Disk
- Subscribe to RSS Feed
- Mark as New
- Mark as Read
- Bookmark
- Subscribe
- Printer Friendly Page
- Report to a Moderator
Products and Environment
This section reflects the products and operating system used to create the example.To download NI software, including the products shown below, visit ni.com/downloads.
- LabVIEW
Software
Code and Documents
Attachment
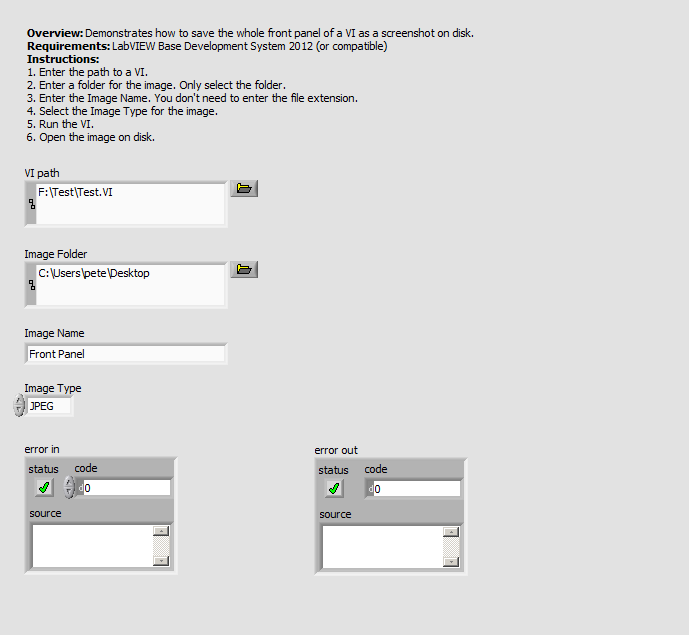
This example demonstrates how to save the whole front panel of a VI as a screenshot on disk.
Description
Sometimes you want to save an image of the front panel, but you do not want to put it in a report and would rather keep it as a separate image file. This VI works as a great subVI to take the VI path you wire to it as well as an image path. You can save your image in JPEG, PNG or BMP file formats.
Requirements
Software
- LabVIEW Base Development System 2012 (or compatible)
- If running in a Real-Time context, you will need the LabVIEW Real-Time Module 2012 (or compatible)
Hardware
- No hardware is necessary to use this example VI
Steps to Implement or Execute Code
- Download and open the attached VI
- Open the VI and follow the instructions on the Front Panel
Additional Information or References
If you want to copy the screenshot into the clipboard instead of saving it to disk, take a look into this example:
Export A Screenshot Of A Graph/Chart/Front Panel To The Clipboard
**The code for this example has been edited to meet the new Community Example Style Guidelines. The edited copy is marked with the text ‘NIVerified’. Read here for more information about the new Example Guidelines and Community Platform.**
Field Engineer
Example code from the Example Code Exchange in the NI Community is licensed with the MIT license.


